Cooking For COVID
LET’S FEED OUR IMMUNE SYSTEM!
The importance of eating well has been highlighted since it is synonymous for health. According to different researchers, having a balanced diet strengthens the immune system. It is necessary that our body has enough vitamins and minerals to prepare and cope with these times of pandemic. Today we will take a look at cooking during COVID.
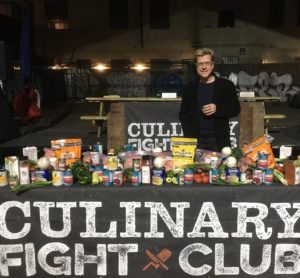
Chef Eric Crowley is aware of the responsibility he has with his students. For the last 17 years, he has not only contributed to the world’s cooking techniques but also achieved recipes with various ingredients that help to bolster our immune system as we cook during COVID 19.
Variety is a must when it comes to our diet. Each food has different nutrients therefore it is important to vary their consumption each day. These are some of the foods that help us raise our defenses:
CHAMOMILE:
The medicinal herb chamomile is one of those that has the most beneficial properties for herbal health and that is why it is so popular. Its main property is that it helps you sleep better. In addition to being sedative, it is antibacterial, digestive, antiallergic and anti-inflammatory. It is recommended to take after meals. Remember that a good rest always raises defenses!
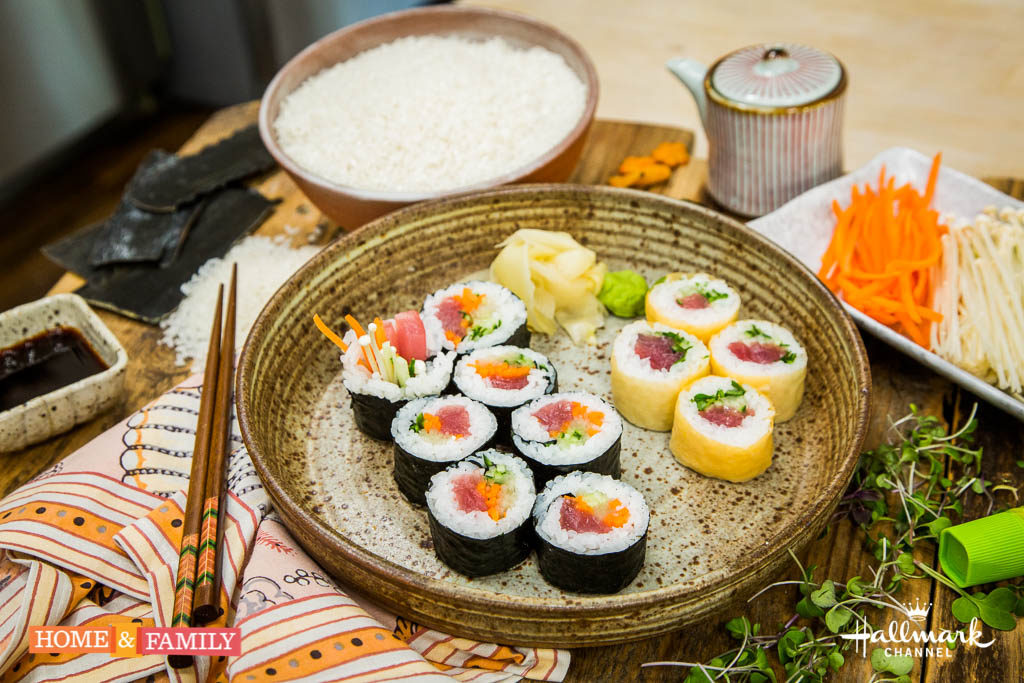
MUSHROOMS:
Mushrooms mainly strengthen the immune system! It is an antioxidant and it is a powerful anti-cancer. It lowers the sugar level and improves brain function. In addition, mushrooms are a very versatile food since they can be eaten with any type of meat, sauces, or vegetables.
TURMERIC:
It is a very beneficial plant for our health! It is anti-inflammatory, antioxidant, digestive, detoxifying, thus favoring the heart, immune, and nervous systems.
BROCCOLI:
It is a food recognized for its active ingredients! Broccoli protects us from acquiring different diseases such as cancer. Broccoli is also rich in Vitamin AC and E. Star food for its sulforaphane content. It is recommended to eat raw or steamed for less than 5 minutes so that the photochemicals are not lost during cooking.
CHARD:
The numbers show that it is a very nutritious food, surpassing spinach! It provides calcium, proteins, potassium, iron, magnesium, Vitamins A, C, and E. All these lead to strengthening the immune system.
RED GRAPEFRUIT:
This variety of grapefruit reflects lycopene (a component that provides the color of tomatoes and watermelons). This component reduces triglycerides, a fundamental part today in the fight against COVID. Additionally, red grapefruit helps fight obesity since it has a low glycemic index and the metabolism takes time to assimilate it, which helps to feel satisfied. Finally, most important, this fruit helps fight infections and fungi.
Remember, to face COVID 19 we must make sure that we have learned to eat correctly and it starts in our kitchens cooking for COVID. Don’t ever forget the importance of a balanced diet! Learning professional recipes from chefs, such as Chef Eric can teach us to improve our diet and strengthen our immune systems.
For cooking inspiration ideas and culinary classes, visit our Youtube channel and become a better cook. Don’t forget to subscribe to our newsletter to receive a FREE video class and learn to cook online!


 At the same time, it’s magical to watch students in any one of my classes, but especially the Professional Programs and the Cooking Series, transform. Case in point – I recently had a student taking a once-in-a-lifetime trip to Europe that changed her flight reservations to make sure she could be back home in time to attend her course that week.